
Domain templates
A domain template is a reusable preset of mitigation rules, hardening options, and IP lists that Vulnity applies automatically when a new domain is linked. Templates save you from configuring every site by hand and keep the protection consistent across your fleet.
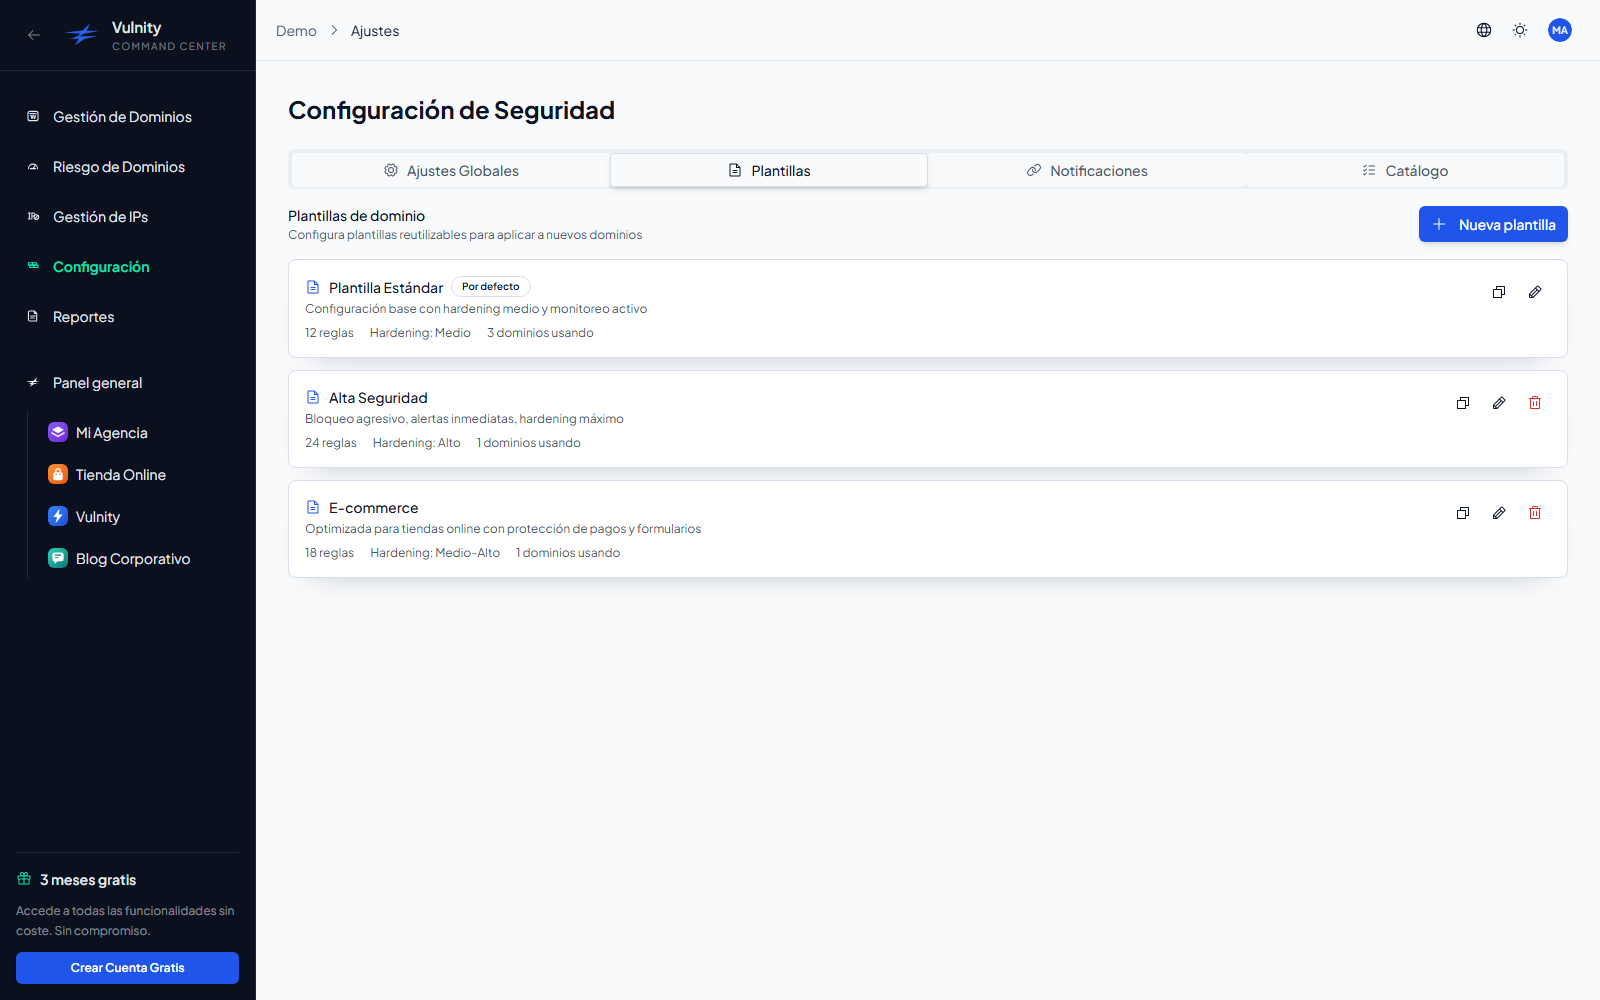
Templates are managed from Configuration → Templates in the panel. The list shows, for each template, the detected mitigation and hardening presets, whether it syncs IP lists, the auto-update flags, and which template is the default (star icon).
What a template contains
Section titled “What a template contains”Mitigation rules
Section titled “Mitigation rules”The automatic-blocking rules that will be configured on the new domain. You can start from a predefined policy — Conservative, Recommended, Strict, Ecommerce, Technical Agency, or Staging / Development — or build a custom set.
In custom mode, each alert type (brute force, PHP file upload, suspicious query, scanner detection, user-account management, and others) has:
- an enabled switch,
- a threshold (number of alerts that triggers the block),
- a block duration (from 15 minutes up to permanent),
- a minimum severity.
Hardening
Section titled “Hardening”The WordPress hardening options that the Vulnity Security plugin will apply on the site. You can pick the Conservative, Recommended, or Strict preset, or configure each option in custom mode:
- Disable XML-RPC.
- Restrict the REST API.
- Rename the login URL (with a configurable slug).
- Block user enumeration.
- Protect common paths.
- Limit login attempts (max attempts and lockout minutes).
- Hide the WordPress version.
- Hide login error details.
IP lists
Section titled “IP lists”Two optional switches copy your current IP lists to the new domain when it is linked with the template:
- Blocked IPs — the IPs currently blocked in IP management.
- Whitelist — the whitelisted IPs from the same section.
Automatic updates
Section titled “Automatic updates”The template form also shows switches for automatic plugin and theme updates.
Create a template
Section titled “Create a template”-
Open Configuration → Templates and click New Template.
-
Give the template a name (required) and an optional description, for example “Standard production”.
-
Choose a mitigation rules preset, or click Custom to tune each alert type’s threshold, block duration, and minimum severity.
-
Choose a hardening preset, or click Custom to switch each option individually.
-
Optionally enable Blocked IPs and Whitelist to copy your current IP lists to domains linked with this template.
-
Click Create template.
Edit, delete, and default template
Section titled “Edit, delete, and default template”From the template list you can:
- Edit a template (pencil icon) — reopens the same form with its current values.
- Delete a template (trash icon) — permanent, after a confirmation dialog.
- Set as default (star icon) — the default template is pre-selected automatically in the domain-linking wizard. Only one template can be the default.
How templates are applied
Section titled “How templates are applied”When you add a single site, the wizard includes a Template step where you pick one of your templates or No template to configure everything manually later. Templates are also available when adding sites in bulk. If you have no templates yet, the wizard skips this step.
On creation, the panel copies the template contents to the new domain:
- the mitigation rules become the site’s mitigation configuration,
- the hardening options become the site’s hardening state, applied by the plugin,
- the blocked IPs and whitelist snapshots are copied to the site’s IP lists.
Next steps
Section titled “Next steps”- Add a single site — the wizard where templates are applied.
- Add sites in bulk — apply a template to many sites at once.
- Mitigation rules — tune the rules of an already-linked domain.
- Hardening — what each hardening option does on the WordPress side.